

Why Purchase from All-Star Telescope?
Free Expert Support
Whether you are a first timer needing help with setting up or an enthusiast that can't quite make that one thing work, our expert staff are ready to support your needs. With decades of knowledge and first hand experience we've been there and we can help you through it!
Stress Free, Secure Transactions
You can trust purchasing and delivery with All-Star Telescope. All of our transactions are 100% secure and Level 1 PCI DSS compliant thanks to Shopify's ShopPay platform. For additional protection, we insure 100% of the value of every shipment we make. If it get's lost during shipment, we replace it. If it gets damaged during shipment, we replace it. We make sure your product arrives exactly as you would expect it to; we promise.
We also ensure privacy protection. We never keep any of your credit card information on file and any of your personal data is stored according to our policies.
30 Day Return Policy
Buy with confidence knowing that we accept returns up to 30 days after purchase. We want you to have something you will actually use and we are confident that we keep good quality products in our store with No Junk.
Price Match Promise
Shipping around for the best price is tough, we make it easier by offering the best pricing in the market. But if you find a better price on an in-store item somewhere else we will match it!
Product Description
This camera has been discontinued.
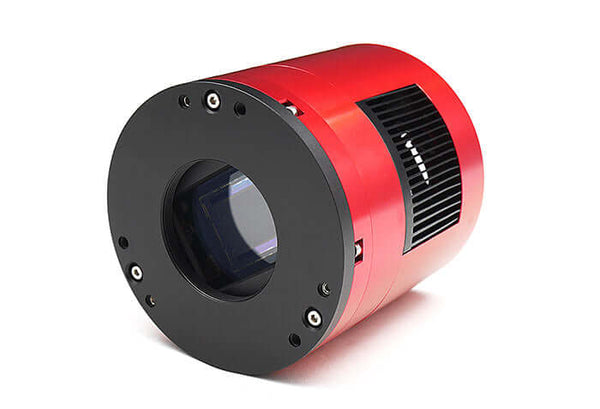
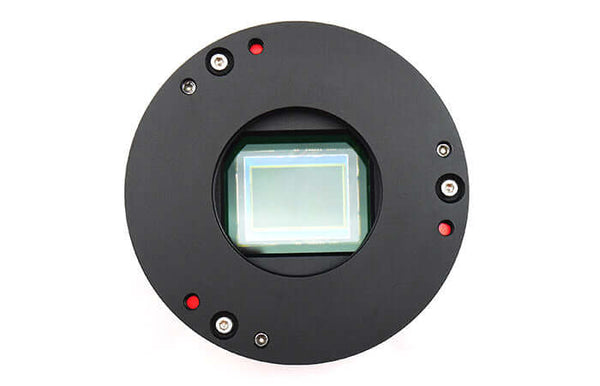
The ASI071MC Pro is a popular OSC camera based on the highly appreciated sensor from Sony – the IMX071 – in APS-C format. A good set of specifications combined with a good price makes it a great choice for those who want to take the step from DSLR to a dedicated astronomy camera.
If you are looking for an APS-C type OSC camera for astrophotography, you can't go wrong with the ASI071MC Pro. It will provide low read noise and a high dynamic range.
DDR Memory Buffer
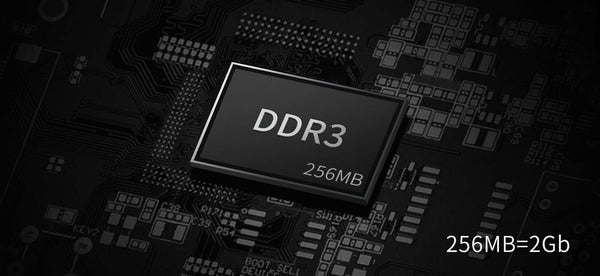
ASI071MC Pro camera includes a 256MB DDR3 memory buffer to help improve data transfer reliability. Additionally, the use of a memory buffer minimizes amp-glow, which is caused by the slow transfer speeds when the camera is used with a USB 2.0 port. DDR memory buffer is the main difference between ASI “Cool” and “Pro” cameras.
Astrophotography Performance
ASI071MC Pro offers very good performance for astrophotography. Low read noise, high dynamic range.

Dark Current
The Dark Current of ASI071MC Pro is better controlled than before with the help of a DDR buffer and new improved hardware design.

QE Curve
We suppose the QE peak value is more than 50%.

Unique Tilt Adapter
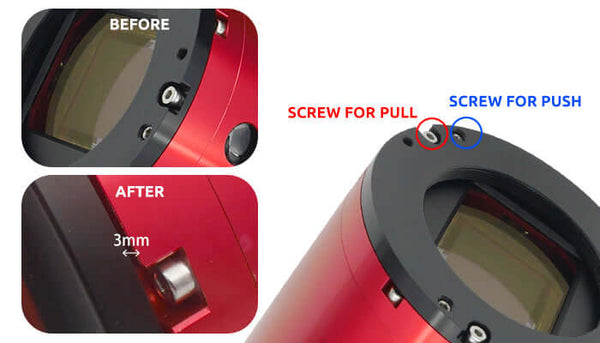
ASI071 Pro includes unique tilt adapter. Say goodbye to tilt problems forever !
USB 3.0 Port & USB2.0 HUB
USB 3.0 PortProvide 5Gb bandwidth to make it possible for ASI071MC Pro to run at 10 fps (14bit, normal mode) at full resolution(16Mega).
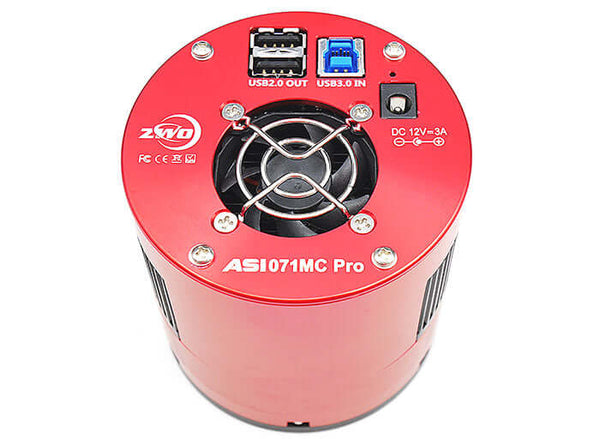
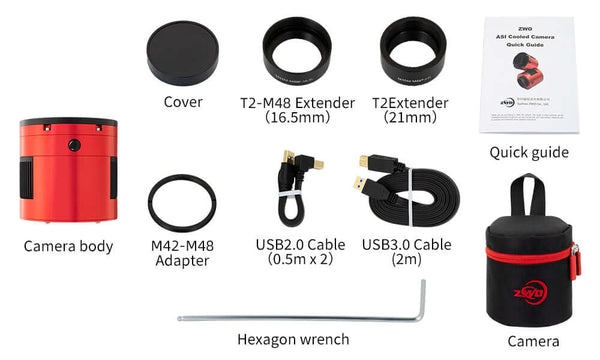
USB 2.0 HUBCan connect with various accessories, including a filter wheel, guide camera or electronic focuser, allowing you to manage your cables better. There are two short 0.5m USB2.0 cables included with the ASI071 Pro. The hub is powered by the external power supply if you connect one.
New mechanical design and Anti-Dew Heater
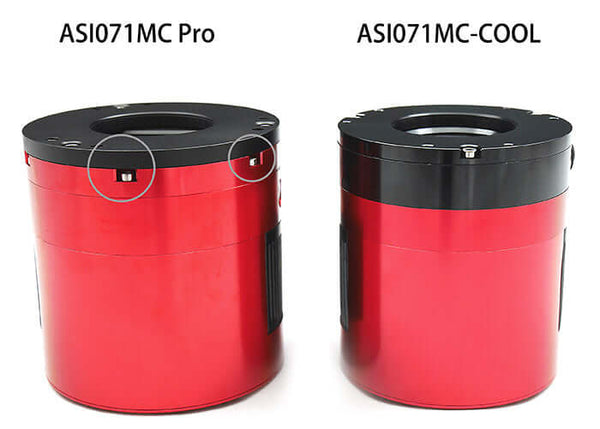
The ASI071MC-PRO camera comes with a completely upgraded anti-dew and mechanical body.
The diameter of the camera body is increased to 86mm compared to the ASI071MC Cool (78mm).
Anti-dew and cooling system
Thanks to the two-stage TEC cooling, ASI071MC Pro can lower the CMOS sensor temperature to more than 35-40 degrees Celsius below ambient temperature, which can greatly reduce dark current generation and sensor noise even during extended exposure times.
Please note that the camera needs to be connected to an external 11-15v power supply to implement the cooling function. We recommend you use 12V@3A DC adapter (5.5*2.1mm, centre pole positive) or lithium battery with 11-15V to power the camera. There are 4 different standards for different countries, please make sure you selected the correct adapter when placing the order.
The anti-dew heater will heat the AR protect window to avoid any dew problems. The heat anti-dew heater power is around 3.6W and can be turn off in software to save power.
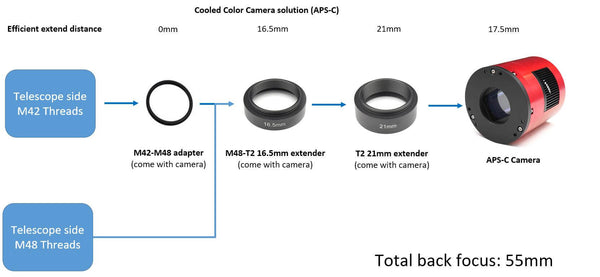
Connecting Diagram (refer to photo)
- 2" Filter (optional)
- EOS-T2 adapter
- M42 to M48 extender
- 16.5mm M42 extender
- 21mm Focal reducer
- OAG

Specifications
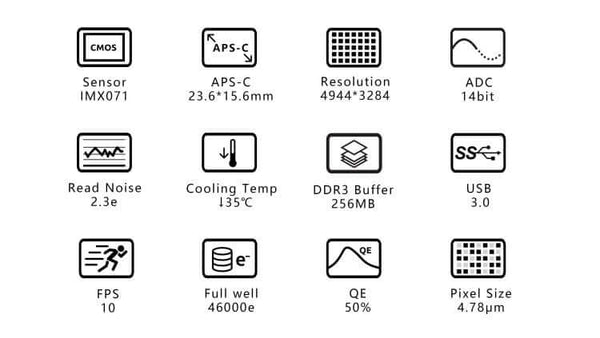
| Sensor | SONY IMX071 CMOS |
| Diagonal | 28.4mm |
| Resolution | 16Mega Pixels 4944X3284 |
| Pixel Size | 4.78µm |
| Bayer Pattern | RGGB |
| Max FPS at full resolution | 10FPS |
| Shutter | Rolling shutter |
| Exposure Range | 64µs-2000s |
| ROI | Supported |
| Read Noise | 2.3-3.3e |
| QE peak | TBD |
| Full well | 46ke |
| ADC | 14bit |
| DDRIII Buffer | 256MB |
| Non-volatile memory/On camera storage | Build-in total 192K byte user-accessible space(image size up to 480X320) |
| Interface | USB3.0/USB2.0 |
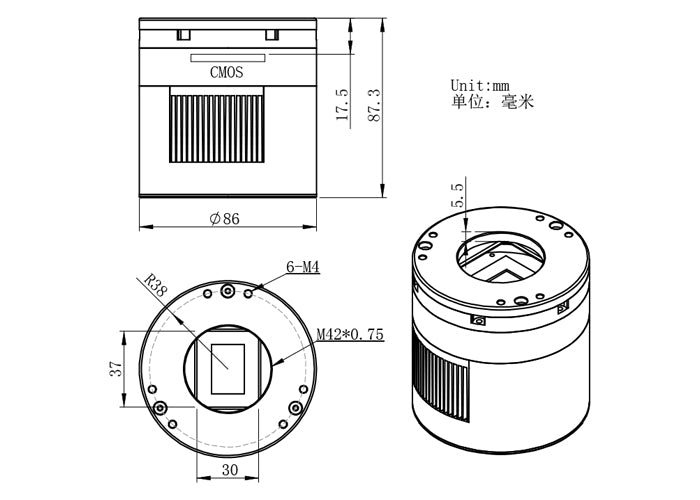
| Adaptor | M42X0.75 |
| Protect window | AR window |
| Dimensions | 86mm Diameter |
| Weight | 640g |
| Back Focus Distance | 17.5mm |
| Cooling | Regulated Two Stage TEC |
| Delta T | 35°C-40°C below ambient |
| Cooler Power consumption | 12V at 3A Max |
| Working Temperature | -5°C-45°C |
| Storage Temperature | -20°C-60°C |
| Working Relative Humidity | 20%-80% |
| Storage Relative Humidity | 20%-95% |
| Supported Resolution | 14Bit ADC 4944×3284 10fps 1920×1200 28fps 1280×1080 33fps 640×480 70fps 320×240 134fps |
Additional Articles, Videos, and Links
External Links
Astrophotography for Beginners Step 4: Shooting Deep-Sky Images
Taking deep sky pictures can be daunting, luckily there is an easy process to follow to allow you to get great shots! Here is the typical process for actually taking deep-sky images in the field.
Astrophotography for Beginners Step 3: Choosing Gear for Deep-Sky Imaging
Using a star tracker gains you experience with the fundamentals of deep-sky imaging. Shooting the Moon gains you experience focusing and framing through your telescope. Through your sessions you’ll...
Astrophotography for Beginners - Start Here: Getting into Astrophotography Step by Step
Shooting the night sky has never been more popular, nor easier. The choice of equipment has also never been better, or more affordable. However, as per the advice given by Dickinson and Dyer in the...
Astrophotography for Beginners Step 1: Using the Star Adventurer Tracker
By far the most economical and easiest way to capture beautiful images of the Milky Way and large deep-sky objects like the Andromeda Galaxy (shown here) is to use a star tracker. Here are steps an...
Astrophotography for Beginners Step 2: How to Shoot the Moon
Close-ups of the Moon are rewarding, and an easy way to learn to shoot through your telescope. While good results are possible with a phone camera clamped to an eyepiece (as shown below), this tuto...


